Resume for Canada Jobs: How to Build an ATS-Friendly CV


On this page
The claim that 75% of resumes are automatically rejected isn’t an established Canadian hiring statistic. Silicon Republic’s analysis of modern job hunting notes that the widely repeated figure lacks a published methodology. Building your application around beating an imaginary rejection threshold is the wrong starting point.
A strong resume for Canada jobs needs to work for software and people. Use a two-layer approach: clean formatting and recognizable qualifications up front, followed by enough context to make your international experience, credentials and work eligibility understandable. A searchable document gets your information across. Verifiable evidence gives a recruiter a reason to continue.
Canadian Resume Format and Length at a Glance
| Element | Recommended setting | Why it matters |
|---|---|---|
| Length | One page under about 10 years of experience, two pages maximum | Keeps the application focused and easy to skim |
| File type | .docx unless the posting asks for PDF | Keeps text machine readable |
| Font size | 11 to 12 points, never below 10 | Readable on screen and in print |
| Margins | 0.75 to 1 inch | Keeps the text block clean for parsing |
| Section labels | Summary, Skills, Work Experience, Education, Certifications | Helps parsers identify familiar information fields |
| Headers and footers | Left empty | ATS software may not read information placed in headers |
| Graphics and tables | None | Reduces the risk of scrambled or missing text |
| Dates | Month and year for every role and degree | Makes the employment and education timeline explicit |
Treat the experience-based length rule as an editing recommendation, not a Canadian hiring requirement. The University of Toronto’s resume-formatting guidance supports a one- or two-page resume, 11–12-point type and ¾–1-inch margins, and warns that applicant-tracking software may not distinguish information placed in headers.
A single-column Word document is a safer starting point than a decorative template. Put your name, email, phone number and location in the document body, not Word’s header field. Avoid sidebars, photos, charts and skill-rating graphics.
Choose Readability Over Decoration
Employer instructions override your default format. Submit a PDF when requested, but export it from the original document rather than scanning a printed copy. You should be able to select and copy its text.
Standard labels beat clever ones. Work Experience tells a reader exactly where to look; My Professional Journey adds interpretation without adding evidence. Canadian resumes also normally leave out age, photographs, marital status and unrelated personal details.
Quick format test: Copy the finished resume into a plain-text editor. Check that job titles, employers and dates remain in the right order. This can reveal extraction problems, although it doesn’t guarantee that every ATS will interpret the file correctly.
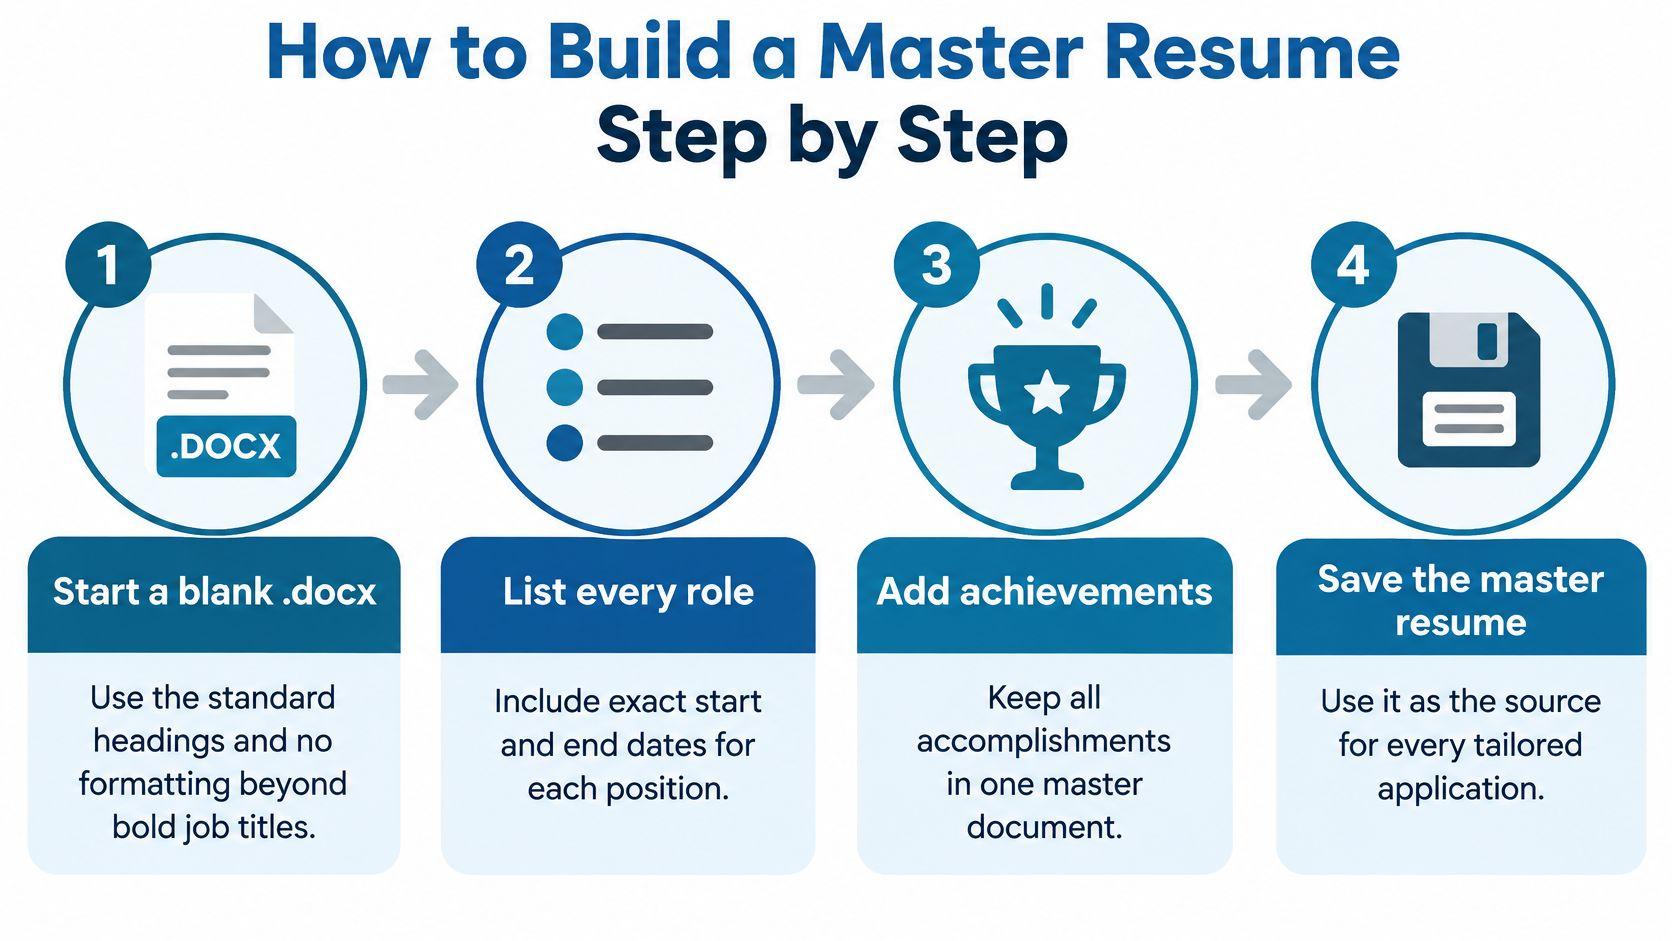
How to Build a Master Resume Step by Step
Build the master before editing for individual vacancies. It’s your source document for accurate dates, defensible achievements and complete credentials, not the file you send unchanged to every employer.
Keep the content available as plain text, even if you maintain the working document in Word. That makes it easier to reuse information in application forms without carrying over broken formatting.
Build the Evidence Before the Summary
-
Start a blank .docx. Add Summary, Skills, Work Experience, Education and Certifications, with no elaborate formatting beyond bold job titles. Leave the summary unfinished until you’ve inventoried the evidence beneath it.
-
Record every role accurately. Include the employer, original job title, city and province or country, and exact starting and ending months and years. Use employment records to settle uncertain dates instead of guessing from memory.
-
Write achievement bullets with scope, action and result. Aim for three to five useful bullets per relevant role as an editing target, not a quota that forces you to manufacture accomplishments. Describe the team, workload, process or users involved, what you changed, and the outcome you can support.
-
Expand acronyms on first use. Write customer relationship management (CRM), for example, before using the abbreviation alone. Keep proprietary internal abbreviations out unless explaining them helps the employer assess your work.
-
Translate unfamiliar terminology without changing the facts. Add a Canadian-facing explanation to a foreign title while retaining the original in brackets. For grades and scores, preserve the original scale unless you have a reliable conversion or formal assessment.
-
Build a defensible Skills section. List tools, languages and certifications you can discuss through actual tasks or evidence. Distinguish professional use from coursework, and don’t let a short training exercise imply production-level expertise.
-
Save the master separately. Create a clearly named copy for each application and edit that copy. Keep supporting notes about calculations, project outcomes and credential documents outside the submitted resume.
Replace Duties With Useful Evidence
Say an operations coordinator’s draft says they were responsible for supplier communication. A stronger bullet would explain that they reconciled supplier confirmations against purchase orders and resolved discrepancies before dispatch, if that accurately describes the work.
The improvement isn’t a more impressive verb. It’s the connection between what you did and why it mattered. If you can verify a reduction in delays, add it; if you can’t, describe the operational result without inventing a percentage.
A credible qualitative result is stronger than an impressive number you can’t explain.
For a compact career history, the working master might settle around a page and a half. A longer career may need a larger private inventory before you select material for submission. The finished source document should answer so what? beneath each relevant role, with dates that agree with your employment records and LinkedIn profile.
Tailoring Keywords to Each Canadian Job Posting
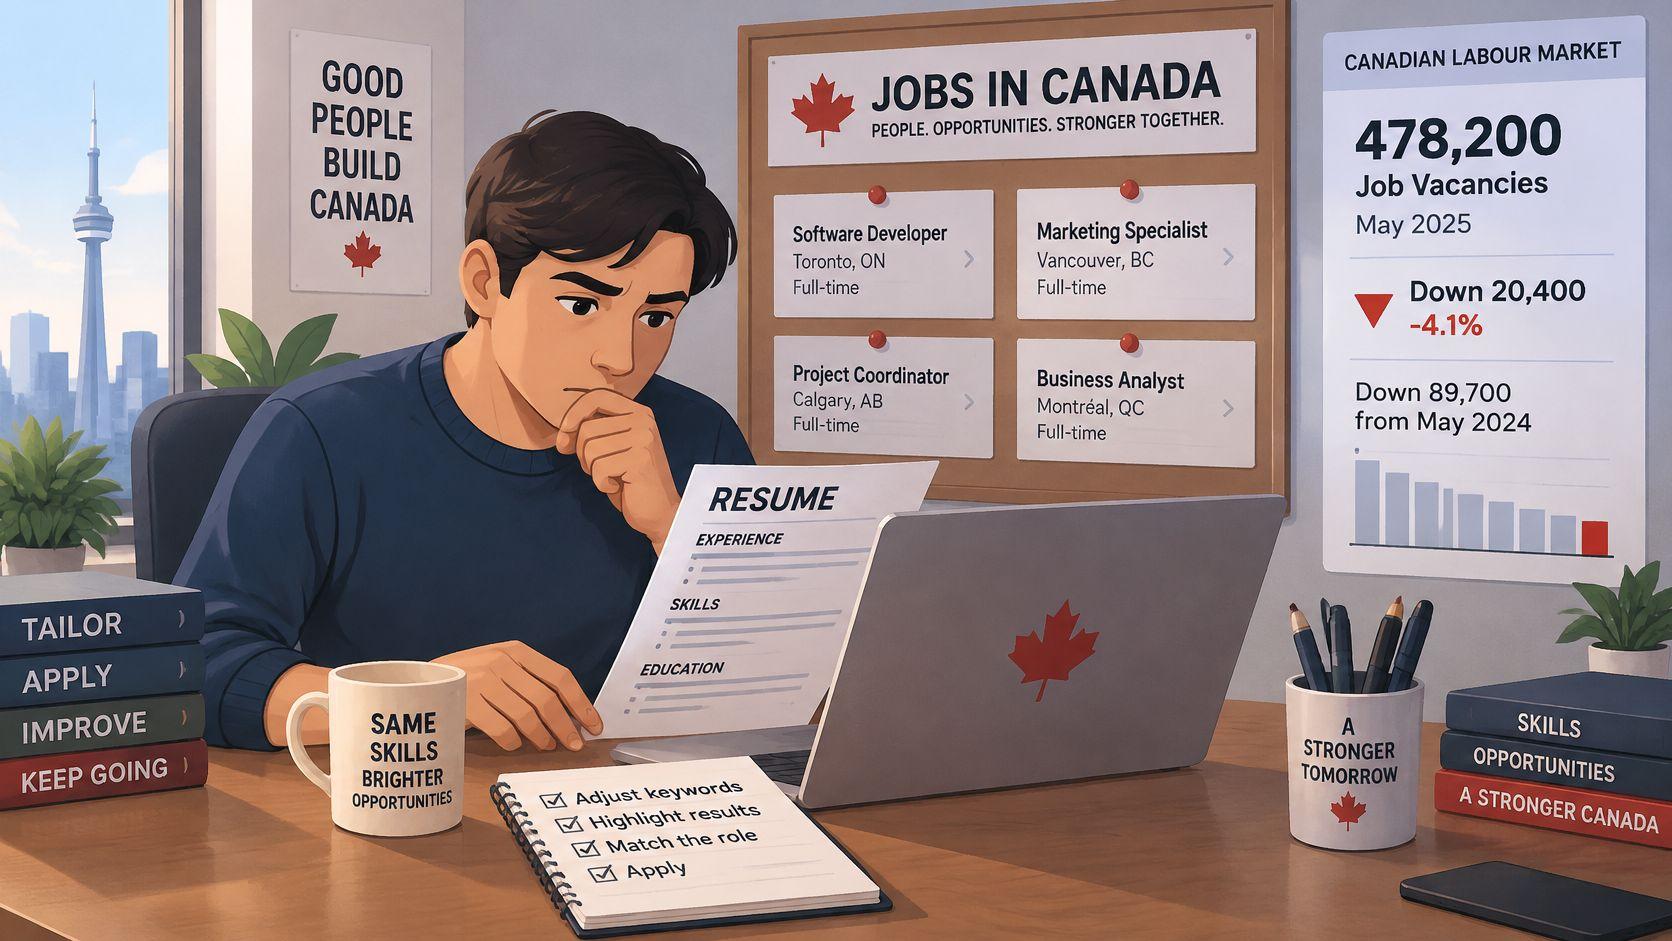
Statistics Canada reported 478,200 job vacancies in May 2025, a monthly decrease of 20,400 positions, or 4.1%, and 89,700 fewer vacancies, or 15.8%, than in May 2024; the total was the lowest recorded since October 2017. Treat that as evidence for selective targeting, not a permanent market condition.
Tailoring works in two layers. The first gives screening software the posting’s exact terms where your evidence supports them. The second gives the recruiter context: which employer, which institution, what scope and what you are eligible to do. For internationally trained candidates, that context stays honest; borrowed Canadian keywords cannot stand in for credentials or work authorization. Pull one live posting from an employer site or browse job listings by role, then tailor to that listing only.
Work Through a Posting, Not a Keyword List
Say a business analyst posting asks for SQL, requirements gathering, stakeholder interviews and Power BI. Your master resume shows SQL reporting, interviews with operational staff and Excel dashboards, but no Power BI experience.
Use a requirement matrix before rewriting anything:
| Posting requirement | Resume evidence | Gap or action |
|---|---|---|
| SQL | Queries used for operational reporting | Move the strongest example higher |
| Requirements gathering | Interviews used to document workflow needs | Use the posting’s term where accurate |
| Power BI | No direct experience | Leave it out of claimed skills |
- Mark what the employer repeats. Copy the posting into a working file and mark the title, mandatory qualifications, repeated terms, tools, languages and certifications.
- Attach each term to evidence. Choose the role or project where you used it; a similar-sounding skill is not a match.
- Put supported matches where they are seen first. Name the target role in the summary and place the tools you can defend near the top of Skills.
- Borrow exact phrasing only when accurate. Write requirements gathering in an achievement bullet only if you elicited and documented requirements.
- Treat gaps plainly. Keep Power BI out of claimed skills; if useful, the cover letter can describe a realistic learning plan without calling it experience.
Keep the Human Reader in the Process
Keyword repetition does not repair missing qualifications. Repeating SQL across unrelated bullets gives a recruiter less evidence and gives an interviewer more places to challenge you.
Canadian survey reporting summarized by HRD Canada found that 61% of HR leaders said reviewing AI-generated applications slowed hiring. The same caution applies to manual keyword stuffing: write each bullet in language you can explain naturally. If a sentence sounds authoritative but you cannot describe the underlying work, rewrite it until you can.
Showing Visa Status and Foreign Credentials Honestly
| Your status | What to write | Where it goes |
|---|---|---|
| Canadian citizen or permanent resident | Work eligibility: Canadian citizen or Permanent resident, if you choose to disclose the category | Summary, first line of the body |
| Open work permit | Permit type and expiry month and year | Summary, first line of the body |
| Employer-specific work permit | Permit type, expiry date and employer name | Summary, with the job details in Work Experience |
| Needs employer sponsorship | State the need only if you require it, then explain in the cover letter | Cover letter, with a short line in the Summary |
| Foreign degree, licence pending | Degree, institution, country and Canadian equivalency status if assessed | Education section, licence status as in progress |
These are wording options, not a requirement to disclose citizenship or immigration documents. Keep passport numbers, permit numbers and sensitive supporting records out of the resume.
The two-layer approach separates immediate fit from supporting context. Your opening profile identifies your function, location and relevant eligibility; Education and Work Experience explain the institutions, employers and scope behind those claims. Do not delete substantial overseas experience because the employer may not recognize the organization.
Separate Assessment From Authorization
A 2025 Canadian evaluation of the Foreign Credential Recognition Program found that 39% of surveyed skilled newcomers who completed the evaluation were not employed in a field corresponding to their foreign-acquired credentials. State the original institution and country, identify any assessment provider, and distinguish whether your intended occupation is regulated or non-regulated in the destination province.
An academic equivalency assessment isn’t a licence. For regulated work, name the regulator and describe licensing as in progress only when that’s accurate. If language testing is relevant, Celprep’s guide can help you compare IELTS, TOEFL and CELPIP before choosing a test accepted for your specific purpose.
Make Eligibility Verifiable
IRCC’s work-permit document guidance identifies a resume alongside employer letters, references, evidence such as pay stubs, and required licences or certifications. Your employment claims should agree with documents you can produce.
For employer-specific arrangements, IRCC’s job-offer guidance distinguishes LMIA-required and LMIA-exempt processes; an open work permit alone isn’t a job offer. Confirm the applicable route with the employer rather than claiming LMIA approval yourself.
When browsing visa-sponsorship jobs in Canada, separate needing sponsorship from already holding permission to work. Remote applicants should also state whether they’ll work from Canada under an applicable permit or from abroad, without implying that domestic-remote eligibility means worldwide eligibility.
Adjusting Your Resume for Quebec and Federal Jobs
Quebec applications require a language decision; federal applications require close attention to the submission system. A polished English attachment isn’t automatically the right document for either situation. Follow the posting’s language and submission instructions before adapting the content.
Quebec Applications
For Quebec employers recruiting in French, prepare a French resume that preserves the same chronology and evidence as your English version. Use the job-title terminology found in the posting rather than translating an overseas title word for word.
Support language claims with context. Describing French-language client correspondence, workplace meetings or completed coursework is more informative than an unsupported fluent label. Don’t claim bilingual proficiency if you couldn’t perform the advertised responsibilities in both languages.
If a bilingual posting calls for versions in both languages, maintain them together. Update dates, credential status and achievements in each file whenever something changes. The most important change is accurate, role-specific French, not translated formatting.
Federal Applications
The Government of Canada’s GC Jobs guidance recommends a separate, simple resume without bullets, underlining or bold, because the online application system removes most formatting when content is pasted into the profile. Save that plain version as its own file and tailor it to the position.
Federal eligibility can also require more explicit education detail than a private-sector application. Statistics Canada’s mathematical-statistics recruitment requirements illustrate this with qualifying degree pathways, including a relevant science or social-science degree combined with approximately 15 one-term courses, equivalent to about 45 credits, in the specified fields.
Don’t assume a general degree title proves those requirements. Name the applicable courses and credentials exactly, and answer screening questions with evidence rather than asking assessors to infer eligibility. The most important change is a plain-text application that makes every required qualification easy to verify.
Run This Checklist Before You Hit Apply
Treat the final review as a factual check, not just a spellcheck. A polished sentence won’t help if the application contradicts your records or leaves a mandatory qualification unanswered.
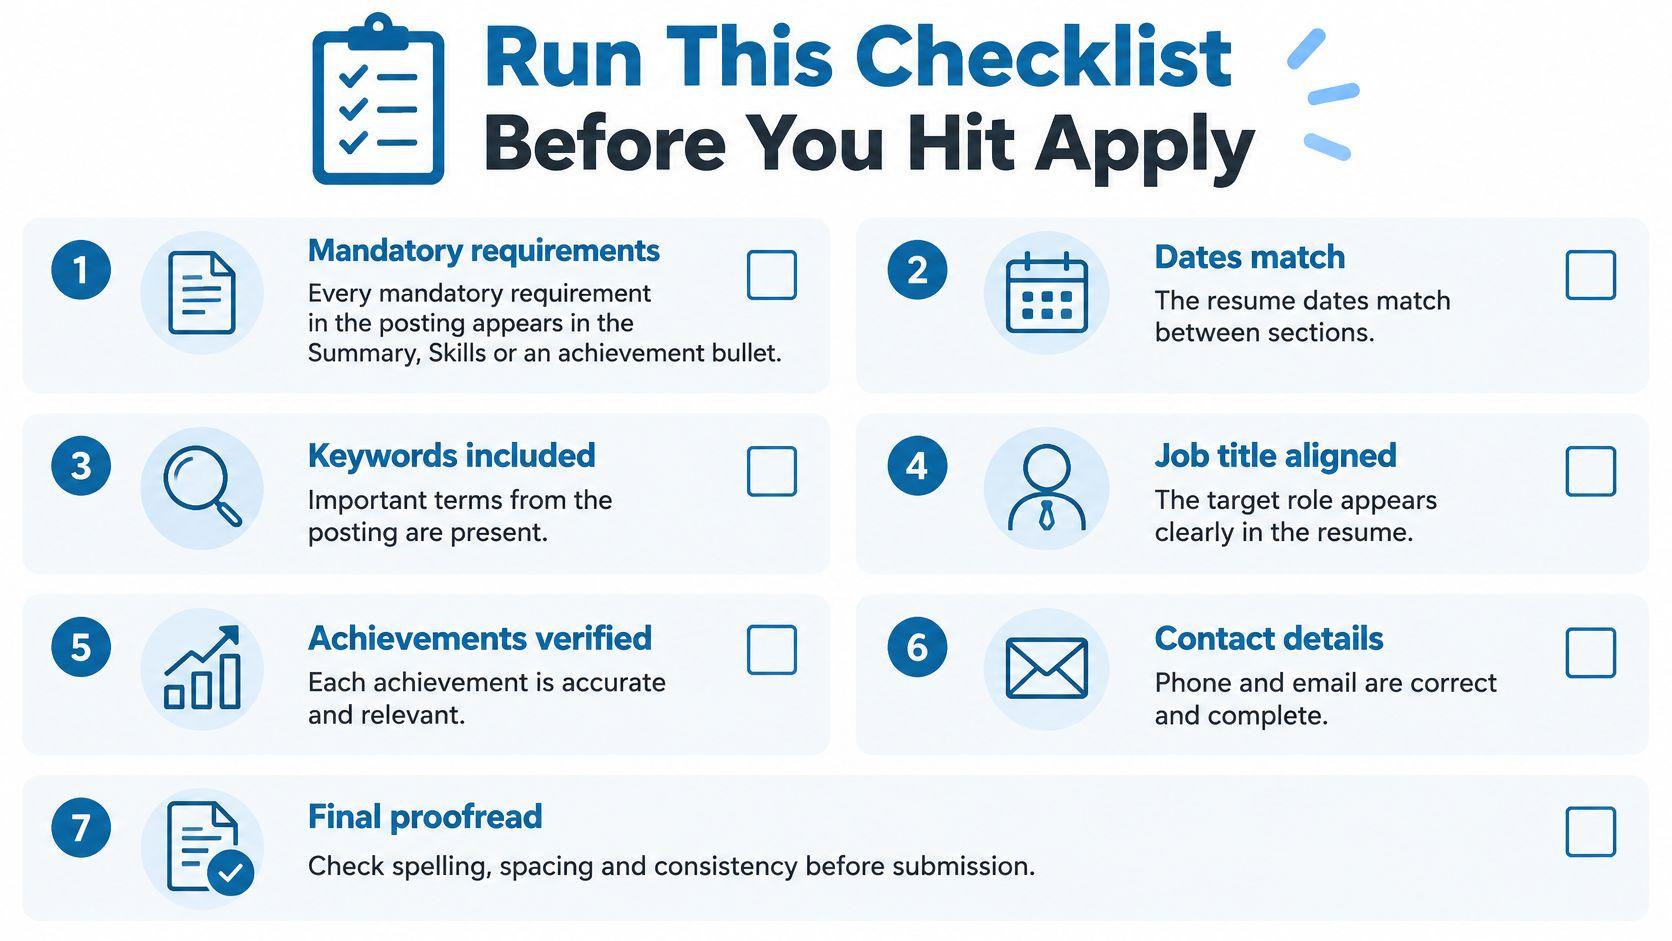
- Mandatory requirements addressed. Each supported requirement appears in Summary, Skills or an achievement bullet. An unmet requirement stays a gap, not an invented claim.
- Dates aligned. Check the resume against LinkedIn and your employment records.
- Gaps handled plainly. Add a brief explanation where needed, without disclosing private medical or family information.
- Major claims supported. Each significant achievement identifies scope, method or result.
- Location and eligibility clear. Put relevant details near the beginning of the body, accurately reflecting any restrictions.
- Unnecessary personal details removed. Leave out age, photo and marital status, then verify your phone number and email.
- File named professionally. Include your name and target job title, and open the final exported file before uploading it.
Check the Supporting Application
Keep the cover letter to one page as an editorial target. Address two important posting requirements with specific evidence instead of repeating your work history. On LinkedIn, align the headline with your target work without altering historical titles, and keep any published eligibility statement consistent.
Our ATS Resume Builder tailors a resume to any job on the platform and exports a text-preserving PDF. Review the wording yourself and use that export only where the employer accepts PDF.
Next step: Open a live visa-sponsorship or remote listing, run this checklist against it, and use the resume-to-job comparison to separate matched requirements from remaining gaps before applying.
JobGlance brings job discovery and resume-to-job comparison into the same workflow, so you can assess eligibility and fit before preparing an application. We offer visa-sponsorship browsing for the United Kingdom, United States, Canada, Europe, Australia, Singapore, Germany, the Netherlands, Ireland, Spain, Poland, Japan, France and Asia. Visit JobGlance, choose a relevant opening, and build a truthful, targeted resume around the requirements you can prove.
Keep reading


