How to Build a Job Application Organizer That Works


On this page
55.4% of unemployed U.S. jobseekers actively searching for work reported sending résumés or completing applications in 2024, according to the U.S. Bureau of Labor Statistics. Applications weren’t their only activity: the average jobseeker used 1.8 search methods. Your search can span employer websites, referrals, recruiters and job boards, but your records need to come together.
A job application organizer should tell you what deserves attention next, not just preserve a list of submissions. Build it around eligibility, evidence of fit and employer silence. You’ll know which role deserves tailoring, which needs verification and which no longer deserves your time.
The Fields and Statuses Your Organizer Needs
Applications scattered across inboxes, browser tabs and job boards lose their most useful connection: which documents you sent for which role. Build the record around the application, including its requirements and next action, rather than around a search session.
When browsing jobs by role, capture promising listings directly into the same structure. Don’t leave them in a separate bookmark folder that you’ll have to reconcile later.
Core fields for each application record
| Field | What to record | Why it matters |
|---|---|---|
| Job URL and source | Exact posting link and the board it came from | Lets you recheck the listing and spot a closed role |
| Employer and title | Normalized employer name and exact job title | Catches duplicates across boards |
| Location and work rights | City, country, remote scope and work authorization | Filters out roles you cannot legally take |
| Sponsorship or remote eligibility | Available, Likely, Unclear or Not offered | Keeps eligibility separate from progress |
| Resume and cover letter version | File name with date and target role | Ties each submission to the documents you sent |
| Match score | Resume-to-role score, with scoring method and genuine gaps noted | Sets the order you apply in |
| Pipeline status | Saved, planned, applied, screening, interview, offer, rejected, closed | Shows where each application stands |
| Applied date | Date you submitted | Starts the follow-up clock |
| Next action date | Date of the next step | Turns the tracker into a to-do list |
| Contact | Recruiter or hiring manager name and channel | Gives your follow-up a named recipient |
| Requirements snapshot | Key requirements copied as plain text at submission | Preserves the evidence after the listing expires |
| Outcome notes | Reply date, interview rounds, reason for rejection | Reveals patterns across applications |
Use this pipeline order:
Saved → planned → applied → screening → interview → offer → rejected or closed without reply.
These are available states, not mandatory steps. A rejection can arrive before screening; an employer can also reopen a closed conversation. Keep rejected and closed without reply out of active counts so your dashboard doesn’t exaggerate the opportunities still moving.
Practical rule: Every active record needs a next action. If you can’t name one, decide whether the record belongs on hold or in the archive.
The columns people overlook are eligibility and the requirements snapshot. Eligibility determines whether preparing an application is worthwhile. The snapshot lets you prepare for an interview against the actual requirements, even after the original page disappears.
For a new tracker, I’d start with seven decision columns: URL, employer and title, eligibility, match score, status, applied date and next action. Use that lighter setup for two weeks, then add the remaining fields where they resolve a real question.
How to Build Your Tracker in a Spreadsheet or App
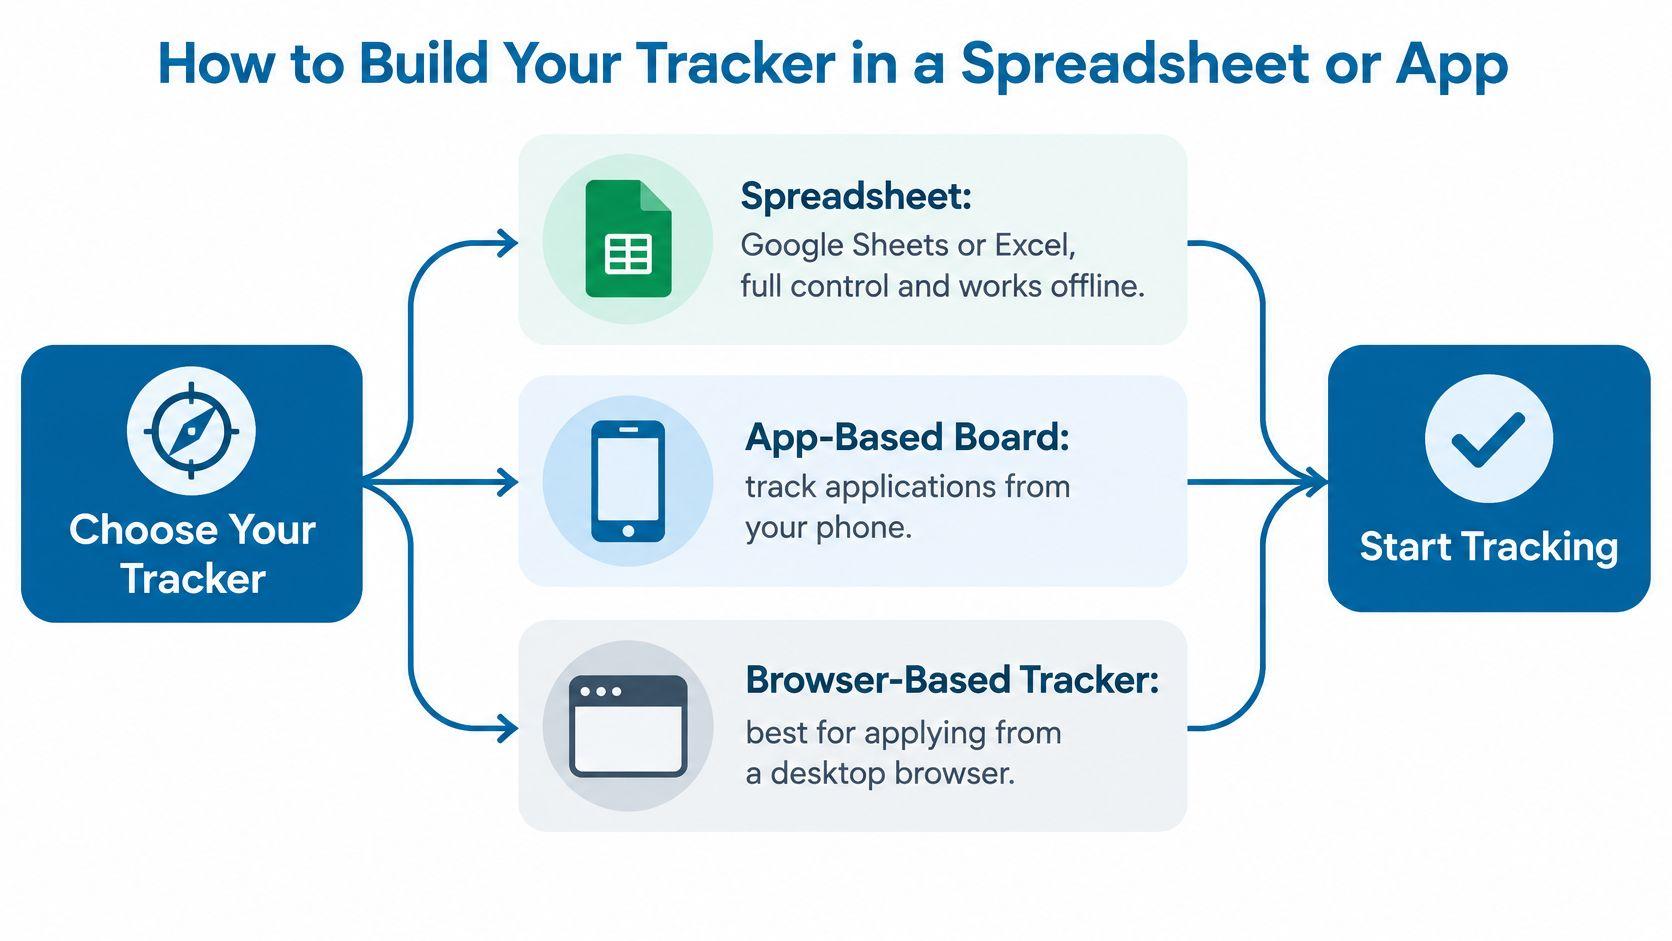
Choose the tool you’ll update when you’re tired, not the one with the most impressive dashboard. Google Sheets or Excel gives you control over filters, formulas and exports. Excel works offline; Google Sheets needs offline access configured beforehand.
An app-based board suits phone-first tracking. A browser-based tracker suits applications run mostly from a desktop browser, and there its storage and export arrangements matter more than its appearance.
Build the record before adding volume
One design test settles most layout questions: opening a record should recover the whole application, including its submitted documents, eligibility constraints, contacts and outcomes, without an inbox search.
-
Create a row per application. A role found on different boards stays a single record. Separate genuinely different requisitions, even when the employer uses the same title.
-
Build the core columns and freeze the header. Add a status dropdown rather than typing statuses freely. Interview and Interviewing count as separate categories if you let them.
-
Paste the exact URL, then the requirements snapshot. Save requirements as plain text, not just a screenshot. Text stays searchable when you prepare for the interview weeks later.
-
Search employer and title before adding a role. Compare location and requisition details before deciding it’s a duplicate. Keep the employer’s application link as the main URL and move alternate sources into notes.
-
Name the submitted files deliberately. Include submission date, employer and role in the file name. Log that exact name instead of linking to a working document you’ll overwrite for the next application.
-
Book a 15-minute weekly review. Update stages, reconcile replies and clear stale next actions. Review the records that require a decision rather than every cell in the sheet.
If your job hunt competes with freelance work or irregular hours, Boss as a Service’s guide to planning tools for independent workers can help you choose where that review belongs. Keep the appointment in your existing calendar rather than creating another planning system.
Protect the record and test the dates
Know where each copy of your data lives. Our extension’s application pipeline is stored 100% locally in your browser: JobGlance has zero access to those records, and they’re never synced to the cloud. Keep a spreadsheet copy of anything you can’t afford to lose.
When collecting worldwide remote openings, preserve the allowed work location alongside the source. A broad discovery category doesn’t replace checking the individual posting.
Two mistakes deserve an immediate check: inconsistent status labels and dates pasted as text. Set date columns to a date format, enter a test application and confirm that subtracting its applied date from today returns elapsed days. A date that merely looks correct can silently break every overdue flag.
How to Rank Applications by Match Score and Eligibility
Eligibility comes first, then score. A strong skills match doesn’t overcome an excluded work location or a sponsorship requirement the employer won’t support.
Say a role scores 91 but sponsorship is Unclear, while another scores 74 and sponsorship is Available. In this hypothetical queue, the 74 gets your tailoring time first. The 91 gets a short verification task, not a polished application.
Match score band, eligibility and action
These are recommended starting thresholds, not measured hiring probabilities. Calibrate them after your first twenty applications by comparing the scores with substantive employer responses.
| Score band | Eligibility | Action | Time budget |
|---|---|---|---|
| 80-100 | Confirmed | Tailor resume and apply within 48 hours | 45-60 minutes |
| 65-79 | Confirmed | Address the main evidence gaps, then apply if the role meets your goals | 20-30 minutes |
| 50-64 | Confirmed | Apply only if you would take the role, otherwise save it | 10 minutes |
| Any score | Unclear | Verify sponsorship and the posting first, then hold | 5 minutes |
| Any score | Not offered or excluded | Mark closed and do not apply | No tailoring time |
For queue management, treat Available, meaning the posting states sponsorship, and Likely, meaning the employer has a sponsorship track record, as actionable eligibility signals. Keep those labels distinct: Likely isn’t confirmation that this particular role sponsors. Verify role-specific restrictions before substantial preparation.
Use visa sponsorship job categories to narrow discovery, then record the evidence supporting the individual role’s eligibility. Unclear means verify first, not apply now and hope.
A match score measures alignment with a posting. It doesn’t establish work authorization, employer intent or your chance of receiving an offer.
Check credibility separately
KPMG’s response to the OECD consultation on global mobility discusses geographic restrictions in cross-border employment. Remote work can still be limited to particular countries or regions, so record allowed location independently of work arrangement.
Before spending your tailoring budget, find the role on the employer’s careers site, compare requisition details and check that the application destination belongs to the employer or its hiring provider. Save uncertainty as a note with a recheck action, not an unsupported fake-or-real verdict.
Keep the scoring method consistent. Don’t compare a keyword-only score from one tool with a broader qualification score from another as though they mean the same thing. The score is a diagnostic of fit, not a promise of a response.
Automate Alerts and Reminders Without Losing Track
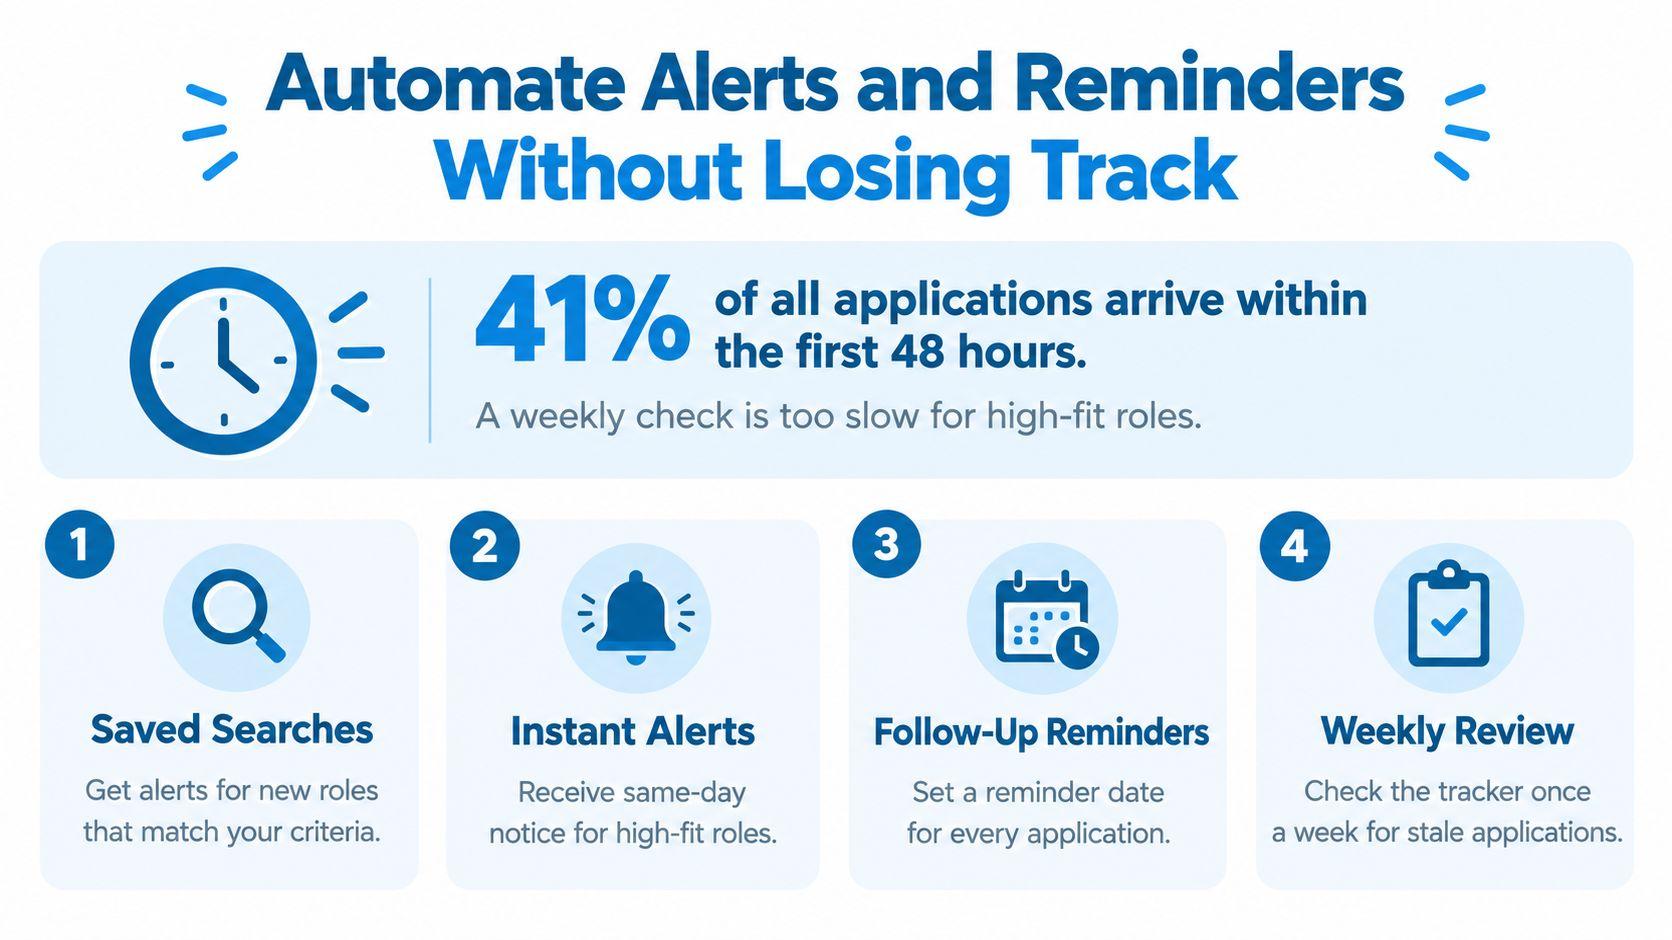
Research summarized by the Federal Reserve Bank of St. Louis found that 41% of applications arrived within the first 48 hours after posting, using a database linking approximately 80 million applications to nearly 10 million online postings. That historical concentration makes a weekly discovery check too slow for roles you’d prioritize.
Use automation to surface decisions, not to submit applications without review.
Set up the triggers in this order
-
Save the search when its results are useful. Run your search in our web app and select Get these jobs in your inbox beneath the results. The alert opens pre-filled with your keyword, location and filters. New matches arrive as a single digest by Telegram or email, with your visa and work-from-anywhere filters applied.
-
Create a calendar event when you apply. As a starting rule, set the next action seven days out and copy that date into the tracker. If the employer gives a timeline, use that instead. Include the record link and contact details in the event.
-
Flag elapsed time in the spreadsheet. Add a helper column calculating today minus the applied date, leaving unsent applications blank. I’d start with amber at seven days and red at fourteen, applied only to records awaiting a response. These are review prompts, not rejection predictions.
-
Label replies when they arrive. Create an email label for recruiter conversations and add filters for known contacts or application threads. Don’t automatically archive those messages before you’ve read them; a tidy inbox isn’t useful if it hides an interview invitation.
For connections between your calendar, inbox and tracker, ContextFlow can help you design cross-app workflows. Map each trigger and destination before connecting accounts, and don’t assume a locally stored browser record is available to another service.
Noise control: Start with three saved searches. Tighten a noisy search before adding another alert.
Keep the weekly review for maintenance. Use alerts for discovery and calendar reminders for decisions.
Where JobGlance Fits Into Your Workflow
JobGlance does three jobs in this workflow: ranks opportunities, checks application documents and captures records. Only the last is organizing. Keep the handoffs explicit so a useful match doesn’t disappear between discovery and submission.
-
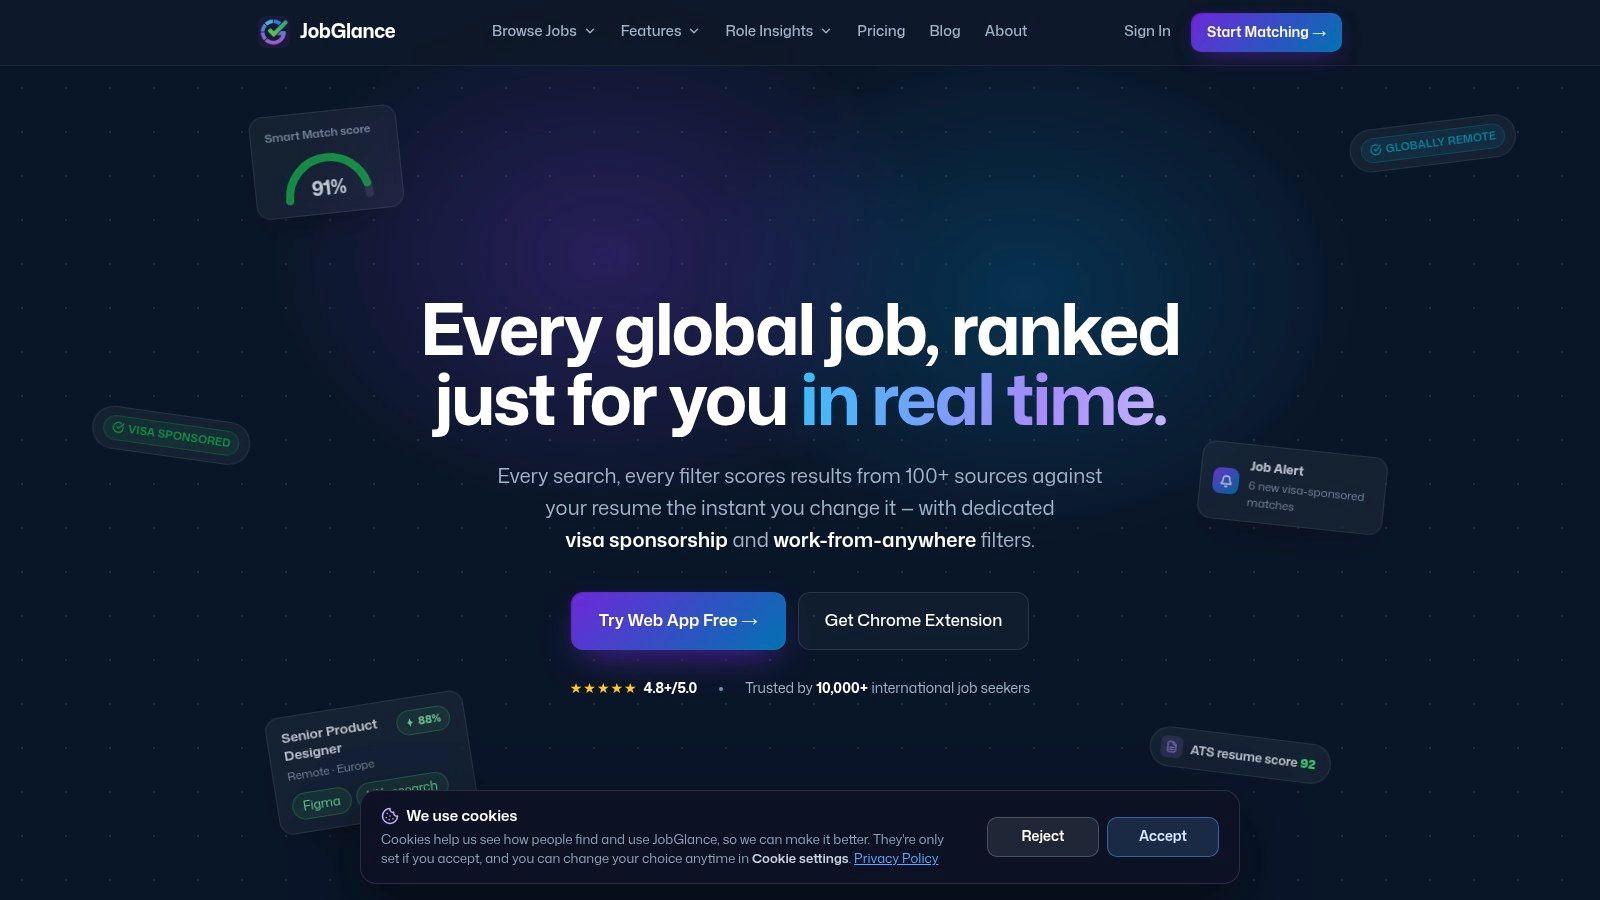
Rank the search into the match score field. Add your resume once, then search a title or skill. Smart Match scores results from 0-100 and re-ranks the set the moment a filter changes, so apply your visa and work-from-anywhere filters first and read the ranked remainder. Copy the top ten viable roles into your tracker with their scores, rather than treating every result as a task.
-
Check the resume into the document-version field. The ATS Resume Builder scores against five checks and can tailor a resume to a particular job in one click. You keep control of the result. Record keyword coverage separately from genuine qualification gaps, then save the final submitted version. Career Gap Analysis aggregates recurring skill gaps across your saved roles, which tells you whether a missing keyword is a one-off fix or a pattern worth acting on.
-
Capture browser discoveries into the application record. The Chrome extension displays match scores and sponsorship detection on job pages outside the platform. Review extracted details before relying on them, especially eligibility language, then paste the listing URL and its score into the tracker record yourself.
Choose the master record deliberately
My Jobs in the web app lives in your account and is available on any device you sign in from. Jobs saved or managed through the extension tracker stay 100% in your browser and are never synced to the cloud. I’d use My Jobs as the master record, the extension for on-page screening and a weekly spreadsheet copy for status reconciliation.
Match scoring runs on JobGlance’s own infrastructure. Your resume is never sent to a job board, recruiter or employer.
For document checks, OneHour’s resume-statistics review cites an analysis of 1,000 rejected resumes across Workday, Taleo and Greenhouse reporting 4% parsing failure for plain DOCX versus 18% for PDF, and 93% parsing accuracy for single-column layouts versus 86% for two-column layouts. The same review disputes the claim that 75% of resumes are automatically rejected by ATS, citing 23 of 25 recruiters who said their systems don’t auto-reject solely for formatting or content.
Treat those findings as a reason to inspect text extraction, not as a universal file-format rule. Follow the portal’s requirements, inspect the exported document and never invent qualifications to improve a score.
Set Your Follow-Up Rules and Close Dead Leads
59.0% of surveyed U.S. candidates identified applying and never hearing back as a top challenge, according to iHire’s State of Online Recruiting 2025. Counting submissions won’t tell you which conversations remain viable. Your organizer needs a deadline for silence.
Use the following cadence as an operating policy, adjusting it when an employer provides a specific timeline.
Follow-up cadence and closing rules by days since applying
| Days since applying | Action | Close the record when |
|---|---|---|
| 0-2 | Save the confirmation email and the requirements snapshot | Not applicable |
| 7 | Send first short follow-up to a named contact; log status as awaiting confirmation | Never at this stage solely because of silence |
| 14 | Send a second follow-up if no employer timeline overrides it; log the attempt | Schedule a final review rather than assuming immediate rejection |
| 21 | Review the unanswered conversation and archive it under this recommended policy | Both follow-ups remain unanswered |
| Any day | Check the posting and close the record if it has been removed or the role is filled | Posting removed or role filled |
Saving the confirmation establishes that you submitted, not that someone reviewed your application. The first follow-up checks the timeline; the second should add relevant context or ask a useful question. After that, stop spending active attention unless something changes.

Distinguish waiting from inactivity
Use awaiting confirmation when the posting remains live and the timing fits the employer’s stated process. Use likely inactive when the posting disappears or follow-ups go unanswered. Closing a removed posting is an attention-management decision, not proof of rejection; preserve any scheduled interview and reopen the record if the employer responds.
Long silence isn’t unusual: 29% of North American candidates in the 2024 Candidate Experience Benchmark Research said employers hadn’t responded one to two months or more after they applied, according to ERE’s benchmark summary. A negative experience also affects employer relationships: 51% of people surveyed by iCIMS in 2024 said they were less likely to buy from a brand after a negative application or interview experience, according to the iCIMS Talent Experience Report.
Keep your own communication disciplined:
- Name a contact. Record a recruiter or hiring manager when available; don’t invent a recipient.
- Keep it short. I recommend staying under 80 words.
- Ask something specific. Ask whether the team is still reviewing candidates for the named role, rather than sending a vague update request.
- Cap the attempts. Stop after two unanswered follow-ups unless you have a new fact to add.
Measure response rate, time to substantive response and interview conversion by source. Exclude automated receipts from substantive replies, and compare applications old enough to have had a reasonable response window.
Write three rules into your sheet’s header note today: your follow-up day, your close day and your two-follow-up cap. Then assign a next action or closing reason to every open record.
JobGlance brings resume-based job ranking, eligibility filters and application tracking into the same workflow. Visit JobGlance, run a focused search and save the roles you can realistically pursue, then give each one a score, an eligibility decision and a next-action date.
Keep reading


